Welcome to the inaugural “Projects” post!
This is what I designed this blog for. The past few months have had a few other plans for me, so I’ve focused on some other things, but this is ultimately the core of this website – Making stuff.
Since this is the first post in this category, I’ll give a brief description of what I hope to do with my project write-ups:
1: Showcase my skills, creativity, and ingenuity. Express my inner artist, and outer engineer.
2: Motivate myself to explore all reaches of my creativity, and challenge my abilities by putting my work on stage.
3: Motivate others to pursue their own project, or act as a catalyst to ignite new ideas in others.
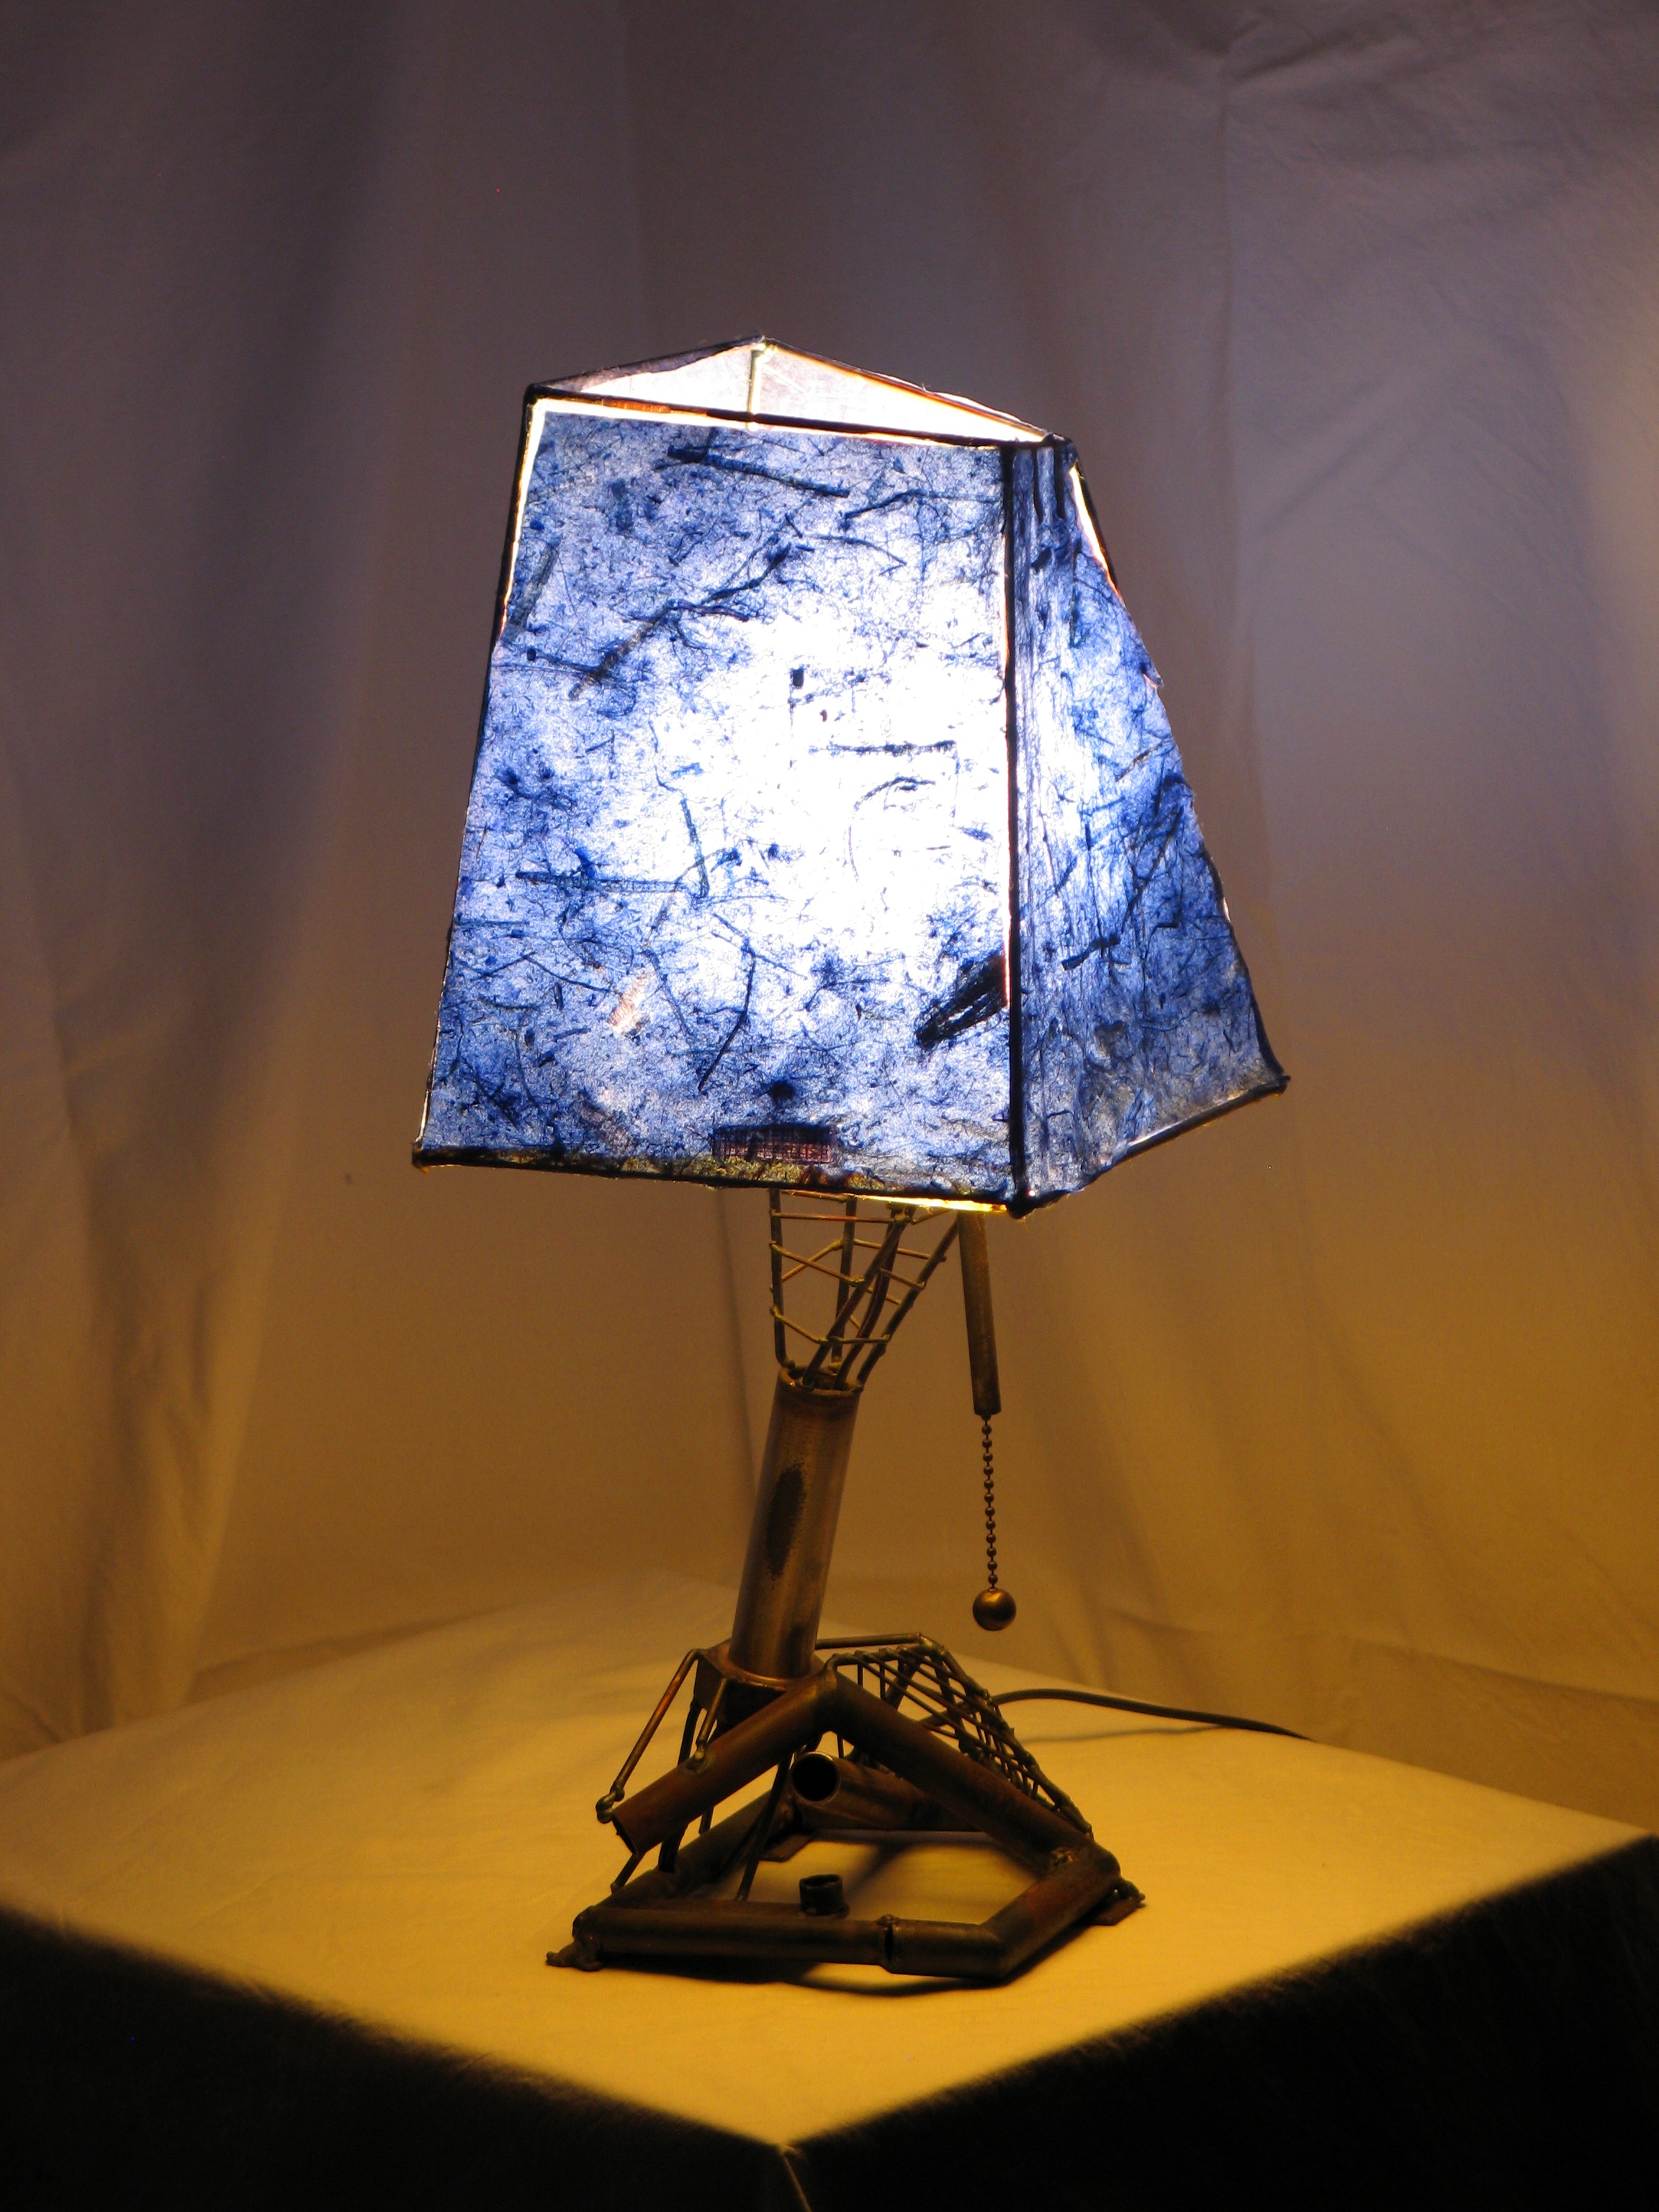
So without further ado, here it is, my Desk Lamp:

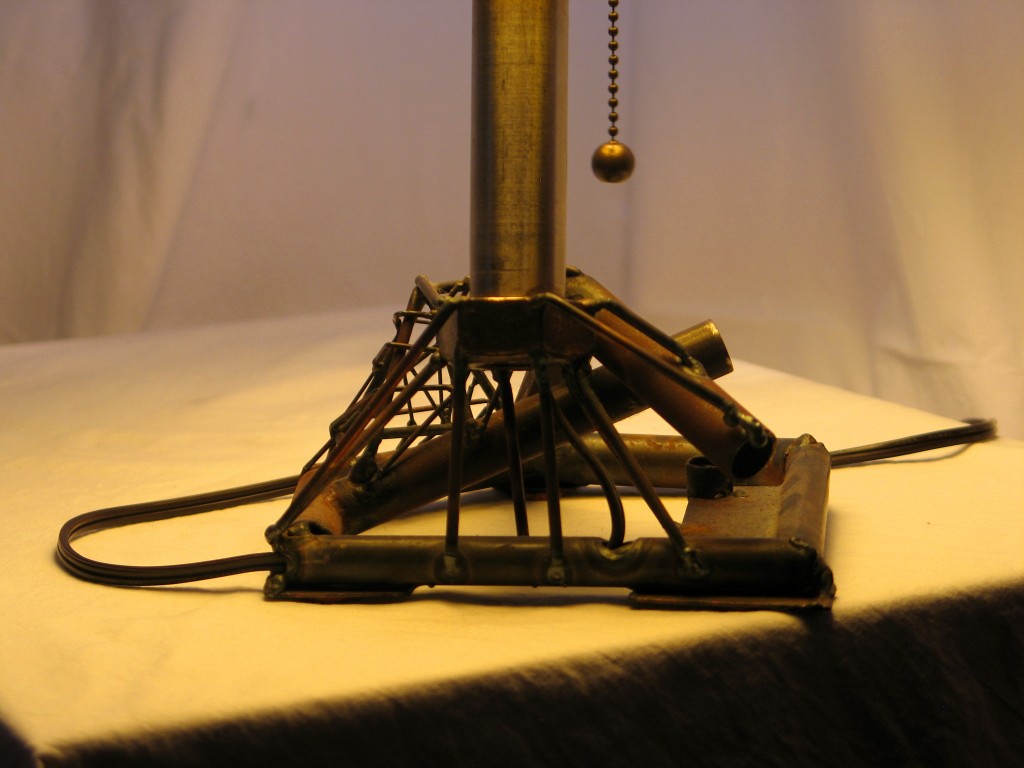
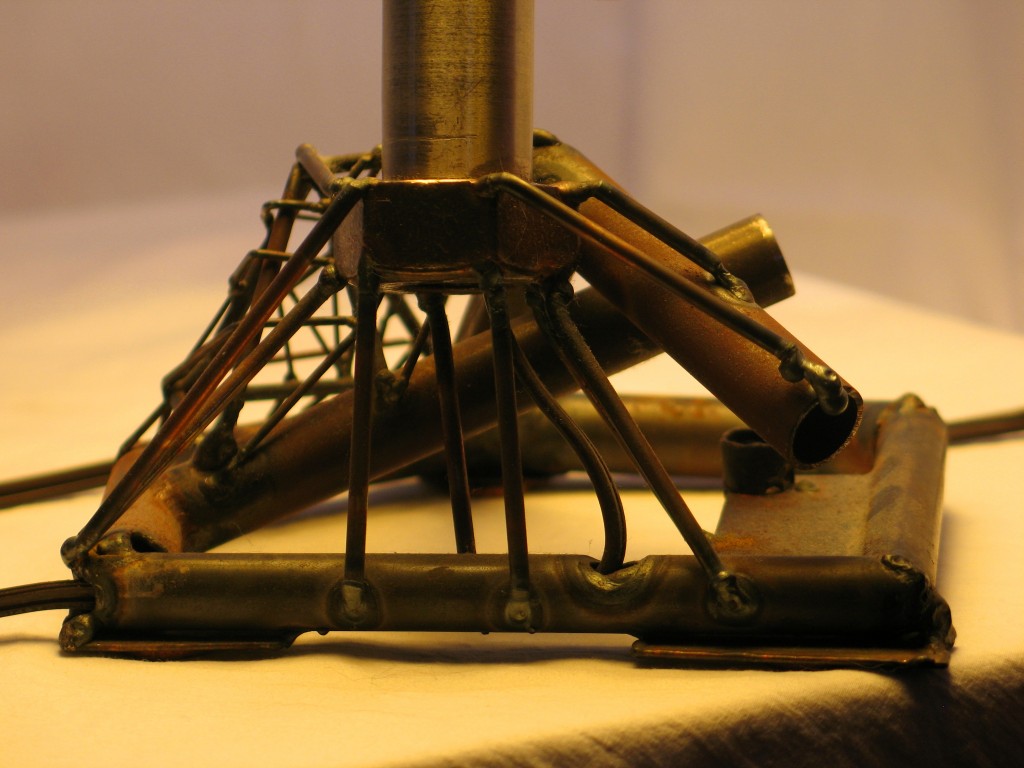
This project started out as welding practice, and quickly evolved from there. The basic tube framework is what I was practicing welding on, and I started to get a bit carried away. This would eventually become the base of the lamp. I started welding the welding rod onto the tube frame in the “web” or “cage” that you can see in the pictures and at some point I decided it would be an awful waste of time, material, and energy if all this welding practice was just thrown away in the scrap bin… I decided to make it a lamp.
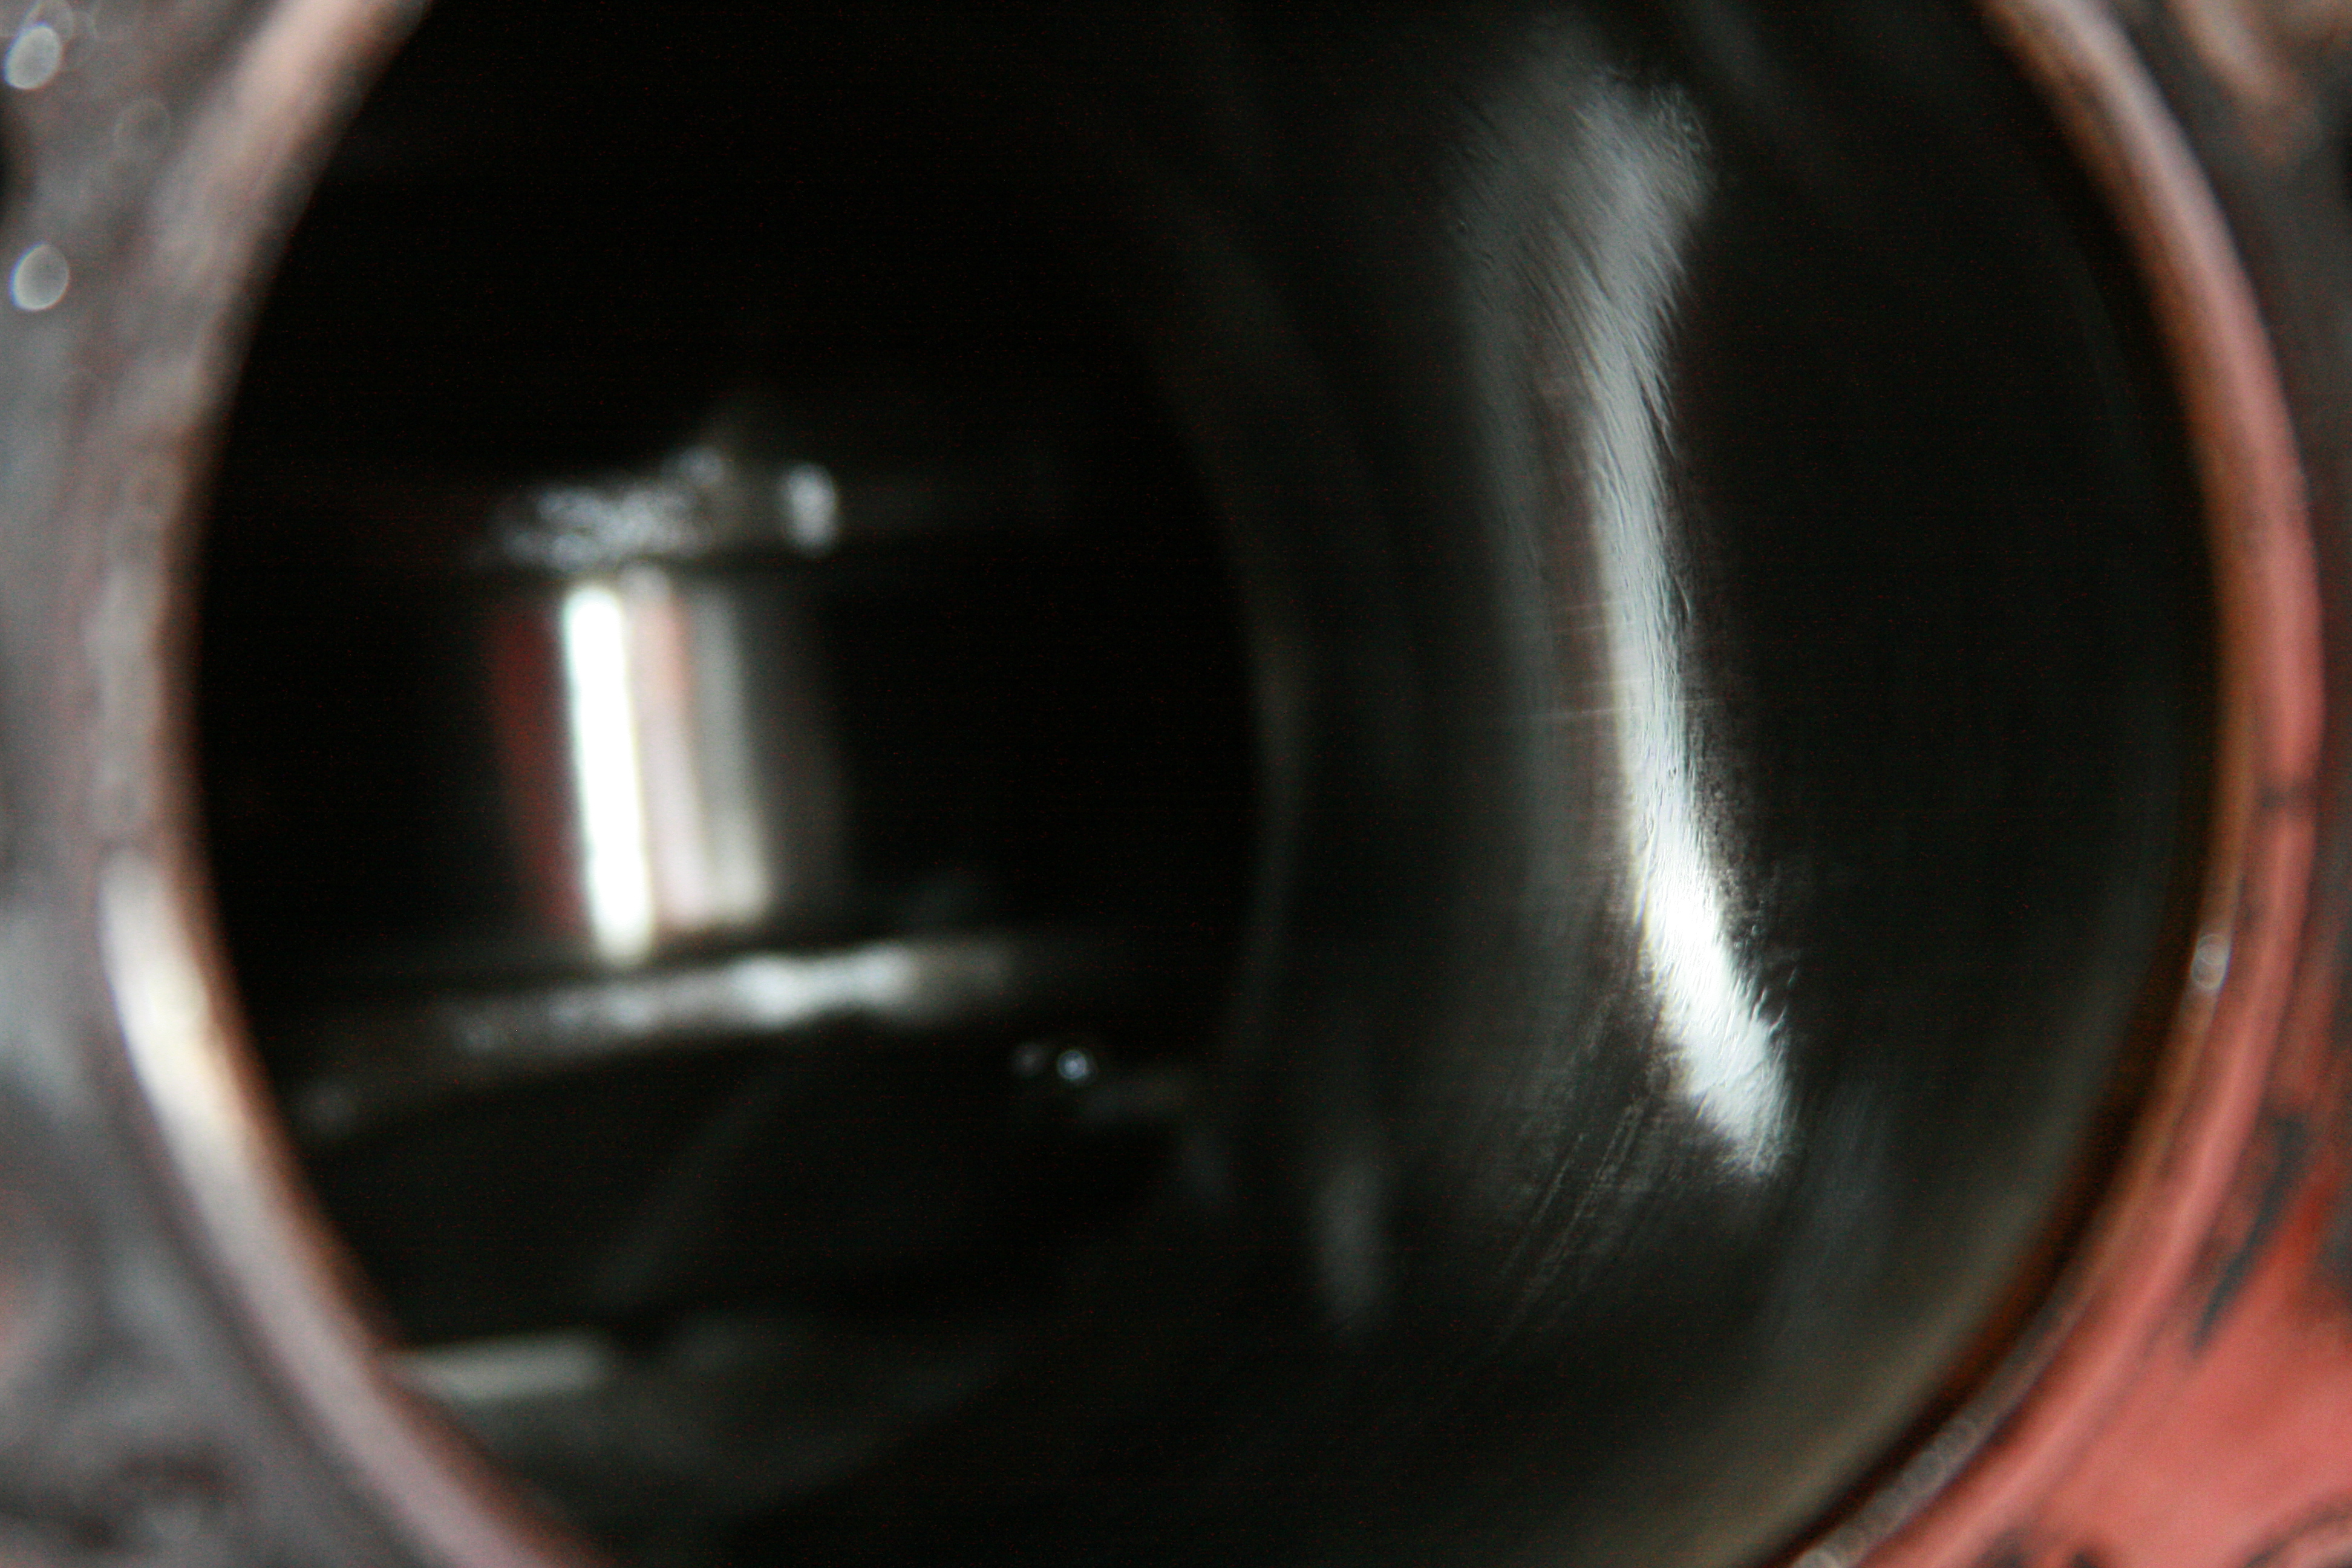
I needed something for the “stalk” of the lamp, something for the central column. I had considered continuing to weld tubes in a haphazard way all the way to the top, but it was very time consuming, and I would prefer something a bit different and unique… not to mention easier and quicker. After searching around the shop for a while, I happened upon this old bolt, which had the threaded section cut off. I wanted the power chord for the lamp to be essentially hidden from view, I didn’t want it to ruin the aesthetic appeal of the rest of the structure, so I chucked the bolt up in a lathe and drilled it through. This didn’t quite make the lamp tall enough, and I also needed something to mount the lamp socket on.
At this time, I had a pretty good idea of what my vision was for the overall product, and I took a ride to the store. I got a standard light bulb socket from a hardware store, and the lampshade paper from a local art store. The shade is made from “banana paper” and I wanted to use two different colors. I wanted a lighter color for the bottom to cast more light on the desk surface, while having a darker color for the sides, so it creates some nice “mood lighting.” I also wanted colors that would go well together. Finally, I wanted the paper to have a visible texture to it, and the banana paper really fit that bill well. The final test was shining a flashlight to the paper to see how well the light passed through it, and ultimately the banana paper ended up being exactly what I had in my mind’s eye.
Returning to the shop, I drilled a hole for the lamp socket in a small square piece of sheet metal (they always come with some mounting instructions that tell you what size hole you need) and welded four posts of thicker welding rod to the corners. The cross bars are mainly for aesthetic purposes, just to maintain the theme with the base of the lamp and camouflage the chord some more. In an effort to continue to keep the chord out of sight, I melted a hole in one of the base tubes and ran the chord through. You can see this pretty clearly in the pictures.
The shade construction was the last part. I ran four supports out from the base plate in the middle, and connected them into a larger square. I knew I wanted it all to be asymmetrical, so I exaggerated that fact in places to make it clear that it was an intentional aspect of the overall design. I ran the supports up to the top, and connected them again. All of the shade supports are clearly visible through the banana paper.
I knew I wanted to cover the bottom of the lamp in paper, to give it softer lighting overall, and I also knew I needed to get the draw-chord through that plane of paper. I knew it would need a guide so that it wouldn’t damage the paper over time, especially if I wanted the paper to fight tightly around the chord. In an effort to continue to keep the overall design of the lamp unique, I made this guide tube extra long, and an intentional and attention-grabbing aspect of the design. One key element was that I wanted the lamp to present the draw-chord to you. I dislike how so many lamps have switches that are not immediately apparent, so I wanted the eye to be drawn to the switch itself as a key aspect of the design. In a sense, the exaggeratedly long guide-tube is the lamp handing you the on/off switch. The draw-chord itself was chosen specifically for it’s visual appeal, instead of using the standard one supplied with the light bulb socket, and the large bulb at the end further draws the user to the experience of turning the lamp on and off.
Finally, wrapping the shade frame in the banana paper was one of the more difficult aspects of the project, and actually the only one that I’m not satisfied with. I used 3M Super 77 Spray Adhesive to glue the paper to the wire frame, after cutting the paper to length. The glue works good, but I found it very difficult to get the paper cut to the right size and it ended up separating in places, as can be seen in the pictures. Part of the difficulty is getting a good contact with the relatively small wire while the glue is drying. This is something I plan on investigating in the future for improvements, and especially if I ever plan on selling this lamp I will need to remake the shade. That is of course exactly why I bought a lot more banana paper than I needed and saved it – I knew this would be tricky! If anyone has any suggestions on how to attach the banana paper, feel free to let me know!
Most of my projects that have tangible results are potentially for sale, such as this one. If you’re interested, you can send me an e-mail at martin@bringintoexistence.com. If you like my work and have an idea for a project of your own that you would like help with, I am available for your personal projects on a contract basis.